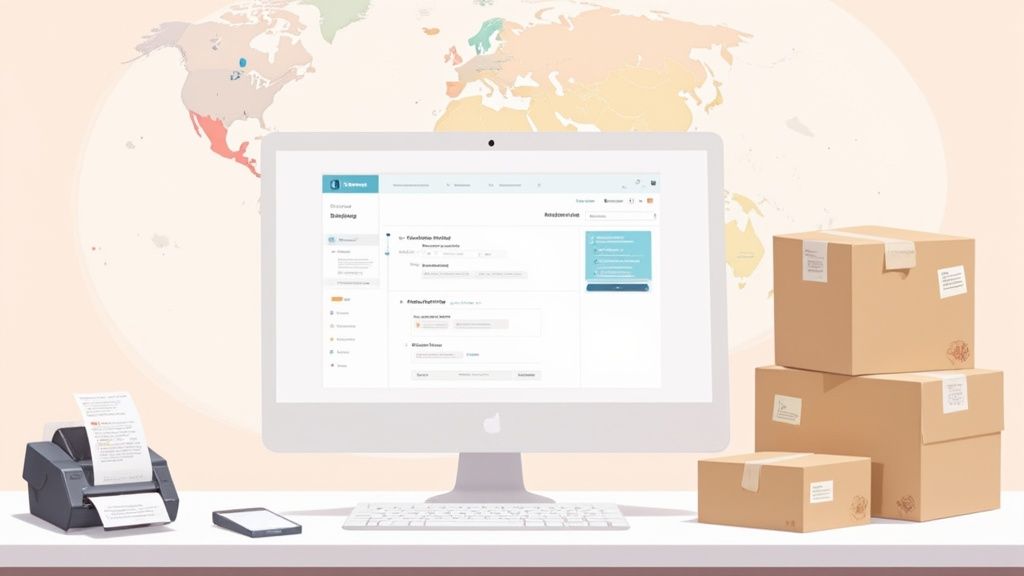
Getting your shipping sorted out on Shopify comes down to a few key things: weighing your products accurately, picking the right packaging, and defining your shipping rates. Nail these fundamentals from the get-go, and you'll save yourself from losing money or frustrating customers down the line.
Building Your Foundational Shipping Strategy
Before you even log into your Shopify admin, it's smart to step back and think about your strategy. These aren't just logistical choices; they have a massive impact on your customer experience, conversion rates, and, most importantly, your bottom line. A little planning here can turn shipping from a costly headache into a real competitive advantage.
First things first: you absolutely need accurate weights for all your products. Guessing is a recipe for disaster. Grab a simple shipping scale and weigh everything, making sure to include the packaging. This number is critical for calculating accurate rates, whether you're using flat-rate tiers or live carrier quotes. Being off by even a few ounces can trigger surprise surcharges from carriers, eating directly into your profits.
Next up is your packaging. The goal here is to find boxes and mailers that keep your products safe without adding unnecessary bulk or weight. Carriers often use dimensional weight to figure out shipping costs, which means a big, light box can actually cost more to ship than a small, heavy one.
So many new store owners make the mistake of using a single "one-size-fits-all" box. This almost always inflates your shipping costs and can create a pretty disappointing unboxing experience for your customer. It's much better to standardize on a few different box sizes that fit your products snugly.
Once you have your product weights and packaging sorted, you can dive into your pricing strategy. This is where you balance what customers want with what your business needs. The three most common approaches are:
- Free Shipping: This is a seriously powerful marketing tool. Many stores offer it with a minimum order size (like "Free shipping on orders over $50") to encourage customers to spend a little more.
- Flat-Rate Shipping: This keeps things simple and predictable for your customers. You could set one price for all domestic orders or create a few tiers based on the order's total value or weight.
- Carrier-Calculated Shipping: This option pulls real-time, accurate quotes directly from carriers like USPS or UPS. It's perfect for stores that sell products in a wide range of sizes and weights.
Each of these strategies sends a different message to your customers and has a different effect on your finances. As you map out your plan, you might also want to check out this comprehensive guide to setting up shipping on Shopify for some extra insights. Think of this initial planning as drawing up the blueprint for your entire fulfillment operation—it ensures every setting you configure later is intentional and profitable from day one.
Alright, you've got your big-picture strategy. Now it's time to get your hands dirty and translate those ideas into Shopify's logistical framework. This is where we tell Shopify who can buy your products and exactly how much they'll pay for shipping. The two tools we'll be using for this are Shipping Profiles and Shipping Zones.
Think of a shipping profile as a container for products that have similar shipping characteristics. By default, Shopify throws everything into one big "General" profile. If you're only selling, say, one style of t-shirt, that might work just fine. But for most stores, a single profile is a quick way to lose money.
Imagine you sell delicate, lightweight scarves and heavy, oversized winter coats. If they're all lumped into one profile, you've got a problem. You'll either charge way too much to ship the scarf (hello, abandoned cart) or you'll drastically undercharge for the bulky coat and watch your profit margin vanish.
This is why getting your profiles right is so critical. It's the bridge between your high-level plan and what a customer actually pays at checkout.
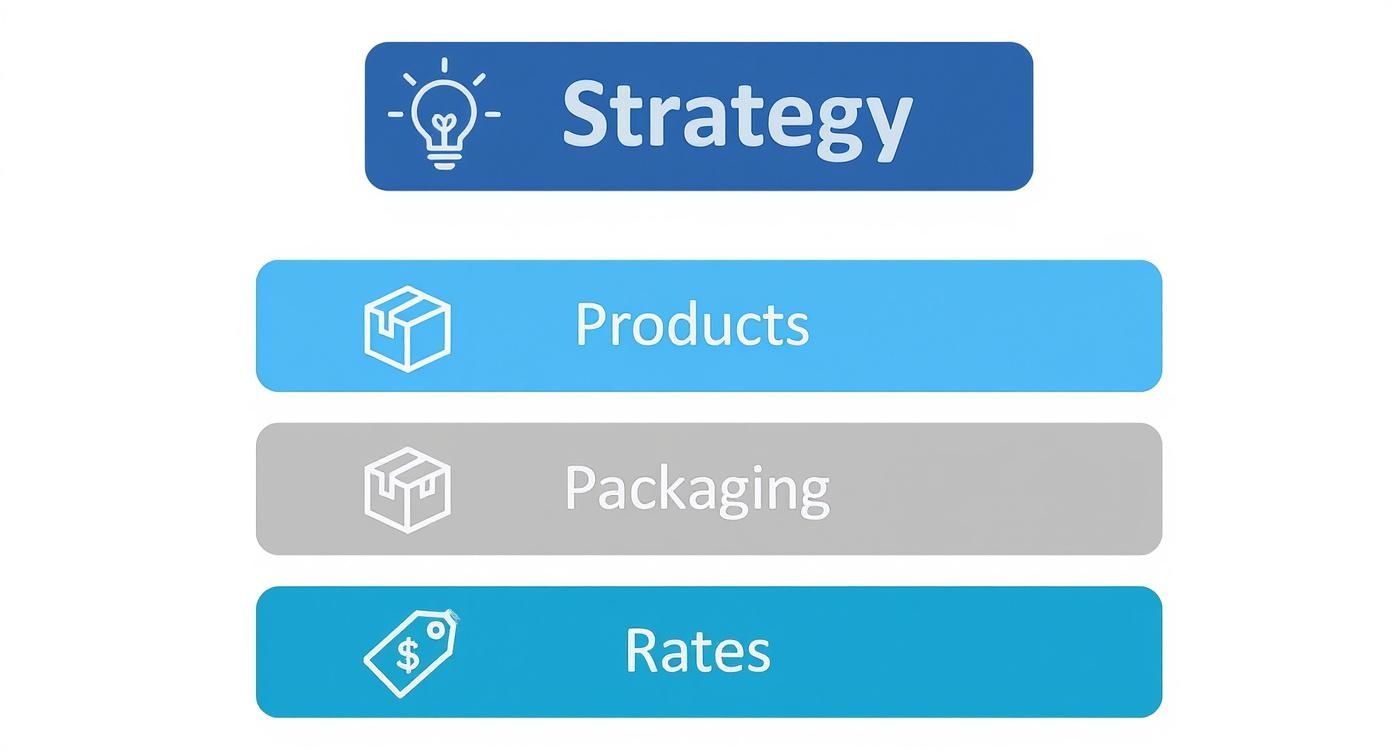
As you can see, the types of products you sell and the packaging you use directly feed into the rates you can offer. Profiles and zones make that connection happen.
Creating Strategic Shipping Profiles
The smart move is to create custom shipping profiles that group similar products together, giving you much tighter control over your rates. You can get started by heading to Settings > Shipping and delivery in your Shopify admin.
Let's walk through a real-world scenario. A home goods store with a diverse inventory might set up a few key profiles:
- Standard Goods: This is for all the easy stuff—dish towels, small decor items, and candles that are lightweight and simple to pack.
- Heavy & Bulky Items: This profile is reserved exclusively for things like floor lamps, side tables, or large planters that have serious weight and dimensions.
- Fragile Goods: Anything that needs special handling goes here. Think glassware, ceramics, or mirrors that require extra padding and maybe even different carriers or insurance.
By carving up your inventory like this, you can assign completely different shipping rules to each group. The customer buying tea towels sees a fair, low shipping cost. The person ordering the floor lamp gets an accurate quote that actually covers your real-world expenses. No more guesswork.
Defining Your Shipping Zones
With your profiles in place, the next layer is to define your shipping zones inside each profile. A shipping zone is just a geographic area—a collection of countries, states, or even a list of ZIP codes—that shares the same shipping rates. This is how you offer different pricing to a local customer versus someone halfway across the world.
Let's stick with our "Standard Goods" profile. You could create several zones for it:
- Local Delivery: Maybe you create a zone defined by a 15-mile radius around your warehouse to offer a super cheap (or free) delivery option.
- Domestic - West Coast: You could target a specific region of your country with one set of rates.
- Domestic - East Coast: Then, you create another region with slightly different rates based on what your carriers charge to ship there.
- International: You could start with a broad "Rest of World" zone, or get even more specific by breaking it down by continent.
This level of control becomes absolutely essential as you grow, especially if you have your sights set on global markets. By 2025, the global e-commerce market is projected to hit a staggering $6.3 trillion, and Shopify is built to help merchants grab a piece of that pie. Going global brings new challenges like duties and regional carrier rules, but Shopify's tools are designed to simplify it. If you're ready to explore that, check out this guide on Shopify international shipping to get a handle on the complexities.
Choosing and Customizing Your Shipping Rates
Once your shipping profiles and zones are mapped out, it's time to tackle the one question every single customer asks: "How much is shipping?" This isn't just a number on a screen; it's a make-or-break moment where a sale is either won or lost. Pricing your shipping is a constant balancing act between keeping customers happy and protecting your own bottom line.
Let's be clear: unexpected shipping costs are the #1 killer of conversions. They are the leading reason people abandon their carts. Your goal is to offer rates that feel fair, transparent, and logical. You want to turn a potential deal-breaker into another reason for a customer to click "Buy Now." Shopify gives you a fantastic toolkit to build a rate strategy that fits your business like a glove. Let's dig into the main options.
Flat Rate And Tiered Shipping
The simplest, most direct approach is flat-rate shipping. You charge one fixed price for every order going to a specific zone—say, a flat $5 for all domestic orders. The beauty of this is its predictability. Customers know exactly what they're paying from the get-go, which builds trust and eliminates any nasty surprises during checkout.
But you can get much smarter than a single flat rate. By creating tiered flat rates based on order value or weight, you gain more control while keeping things simple for the shopper.
- Price-Based Tiers: This is a classic marketing move for a reason. You could offer a $10 flat rate for orders under $75, but then flip to free shipping for orders over that amount. It’s an incredibly effective way to nudge customers to add one more item to their cart, boosting your average order value (AOV).
- Weight-Based Tiers: This is a must-have if you sell a mix of light and heavy products. You might set up rates like $5 for packages from 0-2 lbs, $12 for 2-5 lbs, and $25 for anything heavier. This structure ensures you’re not losing money shipping a heavy, low-margin product for a few bucks.
Using these conditional rates is your best defense against unprofitable shipments, all while presenting clear, easy-to-understand options to your customers.
Real-Time Carrier-Calculated Rates
If you want pinpoint accuracy, nothing beats carrier-calculated shipping. This feature plugs your Shopify store directly into carriers like USPS, UPS, and DHL. When a customer checks out, Shopify sends the package details (weight, dimensions, and destination) to the carrier, which instantly sends back the exact shipping cost.
This method is fantastic for building trust because customers see they're paying the actual shipping cost, not an arbitrary number. It’s almost a necessity for stores selling a wide variety of product sizes or shipping internationally, where costs can vary dramatically.
When you're trying to figure out the right structure, using a furniture shipping cost calculator can be a huge help. Even if you don't sell furniture, the principles for calculating costs on bulky items can give you some valuable perspective.
Picking the right shipping rate strategy is crucial. It directly impacts your conversion rates, customer satisfaction, and profitability. Below is a table to help you compare the main approaches and decide which one aligns best with your store's needs.
Choosing Your Shopify Shipping Rate Strategy
Ultimately, the best strategy is the one that works for both you and your customer. Don't be afraid to experiment and see what resonates most with your audience.
Remember, you don't have to choose just one. A very common—and effective—strategy is to give your customers a choice. In the same shipping zone, you could offer a cheaper "Standard Shipping" flat rate alongside a faster, carrier-calculated "Express Shipping" option. This puts the power in the customer's hands, letting them decide whether to save money or get their order faster.
If you really want to get into the weeds and optimize your setup for maximum profit, our complete Shopify shipping rates guide covers more advanced techniques and tips.
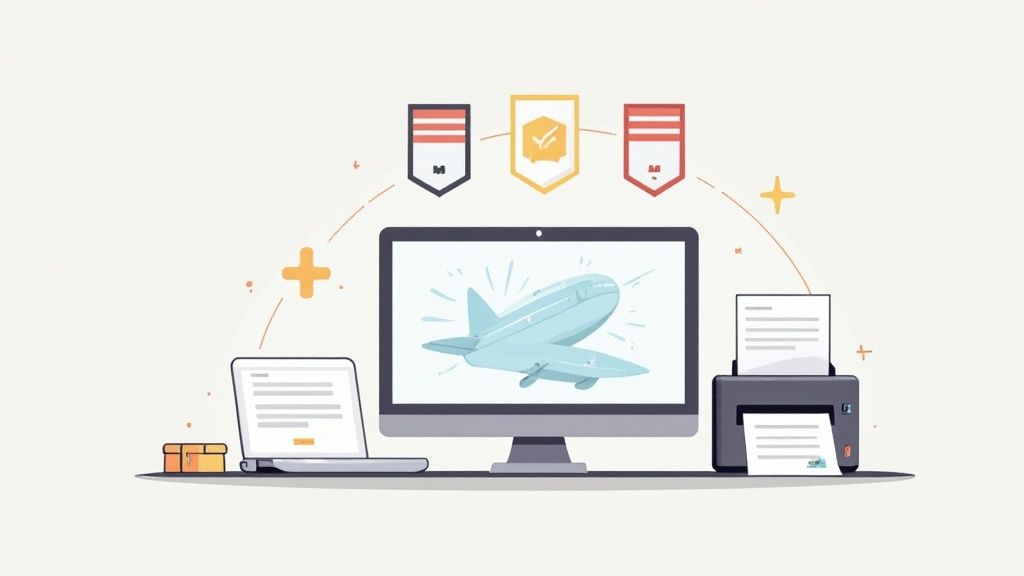
Using Shopify Shipping and Third-Party Carriers
Once you've nailed down your shipping rates, the next piece of the puzzle is connecting your carriers. This is where the magic really happens, turning abstract rates into actual labels on boxes.
This is where Shopify Shipping comes in. Think of it as your built-in logistics partner, bringing discounted label rates and automated customs forms right into your Shopify admin. You can manage major players like USPS, UPS, DHL Express, and Canada Post without ever leaving your dashboard.
The perks are pretty significant:
- Instant savings of up to 88% on international labels.
- Automated customs forms to speed up border clearance.
- The ability to buy and print labels in bulk across different carriers.
Activating Shopify Shipping
Getting Shopify Shipping up and running is refreshingly simple. Head over to Settings > Shipping and delivery, find the Shopify Shipping section, and click Activate. Shopify will just need you to verify your store details and address, and boom—you've unlocked those carrier discounts.
Once it's active, you'll see the available shipping services pop up under each of your shipping zones, ready to be assigned to your profiles. One pro tip: take a minute to review the carrier packing options. Matching your own boxes to Shopify’s predefined package types helps you get much more accurate rates and avoid those dreaded dimensional weight surprises.
The reason Shopify can offer these benefits is pure scale. With over 5.3 million live stores globally and 2.8 million in North America alone, Shopify commands a huge slice of the e-commerce world—10.32% of the global platform market and 29% in the U.S. That kind of volume gives them serious negotiating power with carriers, and those savings get passed on to you. For a deeper dive, Uptek has some great insights on these capabilities.
“Adding Shopify Shipping cut our label budget by nearly half in the first quarter.”
Integrating Third-Party Carrier Accounts
Now, there are times when your own negotiated rates with a carrier might be even better than what Shopify offers. If you've got a high-volume account with FedEx, for example, you'll want to use those rates. That’s where connecting a third-party carrier account comes in handy.
The process is pretty straightforward:
- Choose your carrier (like FedEx, UPS, or DHL Express).
- Plug in your account details—usually an account number and API key.
- Map the carrier's service levels (e.g., "Ground," "2-Day Air") to your delivery options at checkout.
- Save your settings and you're good to go.
After you set this up, always run a test order. Seriously, don't skip this. A quick trial run ensures that the live rates are pulling through correctly, preventing any nasty surprises for you or your customers.
So, when should you use which option? Here’s a quick breakdown.
From my experience, the smartest approach is often a hybrid one. You could use Shopify Shipping for your standard, cost-effective ground option while offering an expedited service through your own UPS account. This gives customers choices and protects your margins at the same time.
Make sure to test your setup with a few edge cases. What happens with an international order? Or an order with an awkwardly large item? Simulating these scenarios helps you find and fix any potential hiccups before a real customer does. A bulletproof shipping configuration is your best friend during peak season.
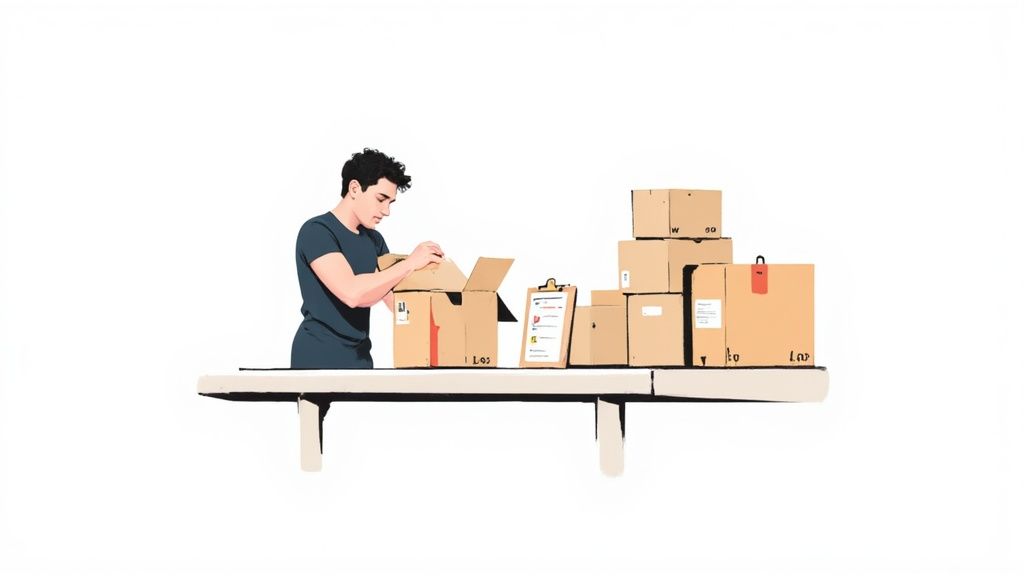
Getting Your Orders Out the Door
Once your shipping strategy is nailed down, it's time to shift gears to the daily hustle of fulfillment. This is where the rubber meets the road. A smooth, efficient process for getting orders packed and shipped is what turns a curious first-time buyer into a loyal, repeat customer.
This is where Shopify’s built-in tools really come into their own, helping you turn the potential chaos of fulfillment into a well-oiled machine.
The heart of this operation is buying and printing your shipping labels right from the Shopify admin. When a new order lands, you just open it up, hit "Create shipping label," and—boom—all the customer's details are right there. This simple feature practically eliminates the typos and copy-paste mistakes that can send a package to the wrong address.
All you need to do is confirm the package weight and dimensions and choose the right shipping service. As soon as you purchase the label, Shopify's automation takes over. It marks the order as fulfilled, updates your inventory, and zips a shipping confirmation email (tracking number and all) straight to your customer.
Managing Orders When Things Get Busy
Tackling orders one by one is fine when you're just starting out, but it becomes a major bottleneck as you grow. This is where Shopify’s bulk fulfillment features become a lifesaver. From your main "Orders" page, you can check off multiple orders and process them all in one go.
- Buy Labels in Bulk: Instead of one at a time, purchase all your shipping labels for the day in a single transaction. You'll just quickly confirm the details for each order in sequence.
- Print Documents Together: Send all your packing slips and shipping labels to the printer in one job. This makes the whole pick-and-pack workflow so much faster.
This kind of batch processing is what allows a tiny team—or even just one person—to handle a sudden rush of orders without breaking a sweat. The logistics industry supporting ecommerce is massive; the global freight transport market is valued at around $40 billion in 2025 and is expected to more than double by 2033. To stay competitive, you need an efficient system, and Shopify provides that foundation. You can read more on how Shopify helps merchants optimize their supply chains.
The key thing to remember is that your fulfillment process is a huge part of your customer experience. A fast, accurate shipment with clear communication builds an incredible amount of trust and keeps people coming back.
Using Locations and Packing Slips
Do you have inventory in more than one place, like a warehouse and a retail store? Maybe you work with a 3PL partner. If so, Shopify’s Locations feature is absolutely essential.
By assigning inventory counts to specific locations, Shopify can automatically route new orders to the correct fulfillment center. This is a game-changer for reducing shipping times and costs, as it ensures orders are sent from the closest possible point to the customer. For more ideas on trimming your shipping budget, check out our guide on how to reduce shipping costs.
Finally, don't underestimate the power of a professional packing slip. It’s incredibly easy to customize your packing slip template in Shopify. Add your logo, brand colors, and maybe even a short, handwritten-style "thank you" message. It’s a small detail, but it makes the unboxing experience feel so much more premium and memorable.
Got Questions About Shopify Shipping? Let's Clear Them Up.
As you get to the finish line of your shipping setup, a few common questions almost always pop up. Trust me, you're not alone. Nailing these final details is what separates a smooth launch from a headache-filled one. Let's walk through the most frequent hurdles I see merchants run into.
One of the biggest wins you can offer customers right now is local fulfillment. People have come to expect convenient, close-to-home options, and it can be a massive competitive advantage.
How Do I Set Up Local Delivery Or In-Store Pickup?
You can knock both of these out right from your Shopify admin. Just head over to Settings > Shipping and delivery. For each of your store's physical locations, you'll see options to turn these on.
- For Local Delivery: You get to define your delivery zone. You can either draw a radius around your location or get specific by listing out the zip codes you serve. From there, you can set a delivery fee, require a minimum order value, and even add special delivery instructions for your drivers or customers.
- For In-Store Pickup: This one's even easier. Just flip the switch to enable it and add helpful details for your customers, like your business hours or how long it usually takes to get an order ready for pickup.
Once configured, customers with eligible addresses will see these local options right at checkout alongside your standard shipping rates. It’s a simple way to add a ton of value and flexibility.
Why Aren't My Calculated Shipping Rates Showing Up?
This is a classic. If your real-time carrier rates are playing hide-and-seek at checkout, the culprit is almost always a small, missing detail.
First things first: check your product weights. Every single product in the customer's cart needs to have an accurate weight assigned to it. Carriers can't generate a quote for a "weightless" package, which causes the whole calculation to fail. It’s an all-or-nothing deal.
Next, go back and triple-check your "Ship from" address in your location settings. A simple typo, a missing apartment number, or an incorrect zip code can prevent the carrier's API from recognizing your origin point. Finally, make sure the customer's address actually falls within one of your configured shipping zones.
I tell my clients this all the time: a simple checklist solves 99% of calculated rate issues. Before you even think about contacting support, verify these three things: accurate product weights, a complete origin address, and correctly configured zones. It will save you a ton of time.
Can I Set Different Shipping Rules For Specific Products?
Absolutely, and this is where Shipping Profiles become your best friend. By default, Shopify groups all your products into a single "General" profile with one set of rules. But the real power comes from creating new, custom profiles.
For instance, you could create a "Heavy Goods" profile for bulky items that always need freight shipping. Or maybe a "Fragile Items" profile that only uses a specific carrier known for gentle handling.
Once you create a new profile, you just assign the relevant products to it. From that point on, you can build unique shipping zones and rates that only apply to the items in that profile. This gives you incredibly precise control over shipping costs across your entire catalog.
At ECORN, we turn complex Shopify challenges into simple, profitable solutions. If you're looking to dial in your store for real growth—from shipping configurations to conversion rate optimization—check out our flexible Shopify development and consulting services.


SMS Marketing for Ecommerce That Actually Converts

Master How to Improve Email Deliverability in 2026

Top 7 eCommerce Partners NYC for Shopify Brands in 2026

Machine Learning for Ecommerce: Boost Your Shopify Store

Beauty Market Research: Your 2026 Growth Guide

Shopify International Expansion: A 2026 Roadmap
What Does CRO Stand for in Business: Understanding CRO

Shopify Visual Merchandising: A Playbook for Higher Sales

Shopify Landing Page Design: Master Conversion in 2026

10 Best AI SEO Optimization Tools for Shopify in 2026

Agentic AI for Ecommerce: Boost Your Sales in 2026
Mastering Email Marketing Data for eCommerce Growth

Conversion Rate Optimisation Australia: Boost Your Sales
Conversion Rate Optimization AI: Your Shopify Store Guide

10 Product Bundling Strategies for Shopify in 2026

How to Increase Customer Lifetime Value: A Shopify Playbook

AI Customer Service Automation: Shopify Guide 2026

Clean Website Design: A Shopify Conversion Playbook

Omnichannel Retail Strategy: A Shopify Playbook
Product Data Enrichment: A Guide for Shopify Brands
Instagram Shopping Features a Guide for Shopify Stores

What Is Revenue Optimization: A Holistic RevOps Guide

Benefits of Conversion Rate Optimization: Boost Your
WordPress to Shopify Migration: Your 2026 Seamless Switch
Boost Sales: Ecommerce Payment Processing Guide 2026
Unified Commerce Platform: Benefits, KPIs & Shopify Guide
How to Reduce Bounce Rate eCommerce: Your 2026 Guide
Shopify API Integration: A Practical End-to-End Guide

How to Implement Data Governance: A 2026 Guide
Shopify Store Development Cost: A 2026 Breakdown
What Is Server Side Tracking: The Shopify Guide 2026
Marketing Automation Workflows: A Shopify Guide for 2026

Shopify: How to Reduce Technical Debt

Shopify UX Design Change: A Playbook for Growth
User Generated Content Strategy: Shopify Playbook

Shopify Pause and Build Plan Cost: A Complete 2026 Guide
Compare at Price on Shopify: A Complete Guide for 2026
Where Can I Sell My Prints? 10 Best Platforms for 2026
Shopify Order Management System: The Ultimate Guide 2026
What Is Marketing Attribution? an eCommerce Guide for 2026

10 Best Black Friday Sales Sheets for 2026

Discover the Top Social Media Marketing Agencies For
Consumer Confidence Definition for eCommerce in 2026
What Is Social Commerce? Your 2026 Guide to Boosting Sales

A Social Ad Campaign Playbook for eCommerce Growth
7 Best FAQ Page Examples for SaaS & eCommerce

Market Research in Fashion Industry: A Guide for Shopify

Shopify Migration Services: Expert Guide for 2026

Mastering FB Retargeting Ads for Shopify in 2026
What Is Omnichannel Ecommerce

Master Your Shopify Plus Migration: The 2026 Guide
Shopify Integration Services: A Merchant's 2026 Guide
Shopify Collection Description: A Guide to SEO & Sales

Shopify Plus Contact: Reach Sales & Support Effectively

Top Luxury Shopify Stores: Design & UX Strategies
How to Improve Customer Experience: A Shopify Roadmap

Creative Facebook Ads: 10 Examples for Shopify Brands

Remarketing with Facebook Ads: A Shopify Guide for 2026

SEO Linking Strategies for Shopify Stores
Top 7 Statistics YouTube Channels for eCommerce in 2026

Hiring Shopify Plus Designers: A Founder's Guide

Shopify Product Variation: Master Your Variants for 2026

Leverage Ai Solutions Brands: Your 2026 Shopify Growth Guide

Filters in Shopify: A Guide for Growing Brands

Shopify Plus Developer: A Guide for Growing Brands

When Does Black Friday Online Start? A 2026 Guide
Black Friday Email Marketing: Shopify & Klaviyo Guide

Polaris Design System: The Complete Shopify Guide

How to Hire a Consultant Email Marketing Expert

What Is Q4? A Shopify Merchant's Guide to Peak Season

Marketing Organization Structure for eCommerce Growth

Top Account-Based Marketing Agency Guide for 2026

7 Remarketing Ad Examples for Your 2026 Campaigns

AI Retail Solutions: Boost Your Shopify Store

Migrate to Shopify: The Definitive 2026 Guide
Shopify Authentication App: A Guide for Secure Stores

Why Strategic Marketing Is Important for Growth in 2026

How to Create a Size Chart in Shopify: 2026 Guide

Shopify Themes for Jewelry: The Definitive 2026 Guide

Minimal Shopify Templates: Faster, Higher-Converting Stores
Maximize Profit: Shopify CC Fees 2026 Guide

Best Shopify Apps for Beginners in 2026

How to Improve Online Shopping Experience in 2026

Shopify Design and Development Services: A 2026 Guide

Small Business Social Media Marketing Agency: A Hiring Guide
Bulk Edit Shopify: A Guide to Save Hours on Store Updates

2026 Trends in Food and Beverage Industry

Post Purchase Survey Guide for Shopify Stores

How to Build an Ecommerce Brand in 2026
Conversion Rate Optimization for Ecommerce: Maximize Profit
How to Use Customer Data to Increase Sales: A Guide

Shopify for Enterprise: The 2026 Deep Dive Guide

Email Marketing Agencies: The Guide for Shopify Brands
Boost Sales With The Right Shipping Shopify App

Your Guide to the Shopify Site Map

7 Headless Commerce Examples for 2026

Mastering Trends in Cosmetic Industry for 2026
Transfer Shopify to BigCommerce The Complete 2026 Playbook

What Is Shopify Collective? Your 2026 Guide to Success

Unlock Shopify Growth with Site Link SEO


newsletter in your inbox