In the competitive eCommerce landscape, your Shopify landing page is more than just a digital storefront; it's your most critical sales tool. Getting traffic is only half the battle. The real challenge lies in converting that traffic into loyal customers, and generic designs with vague promises no longer cut it. To succeed, you need a strategic approach grounded in proven landing page design best practices.
This guide provides a comprehensive roundup of the top 10 actionable principles, tailored specifically for Shopify stores. We will move beyond the basics, offering detailed insights, real-world examples, and implementation frameworks to help you build pages that not only look great but also drive measurable results. The goal is to reduce bounce rates, maximize your conversion rate, and turn clicks into customers.
Each practice we cover is a critical piece of the conversion puzzle. From crafting a compelling value proposition to optimizing for mobile and leveraging social proof, these strategies are designed to work together to create a seamless and persuasive user experience. To truly build high-performing landing pages, a deep understanding of your audience is paramount; explore how customer profiling to boost conversions can help decode your target market's motivations and behaviors.
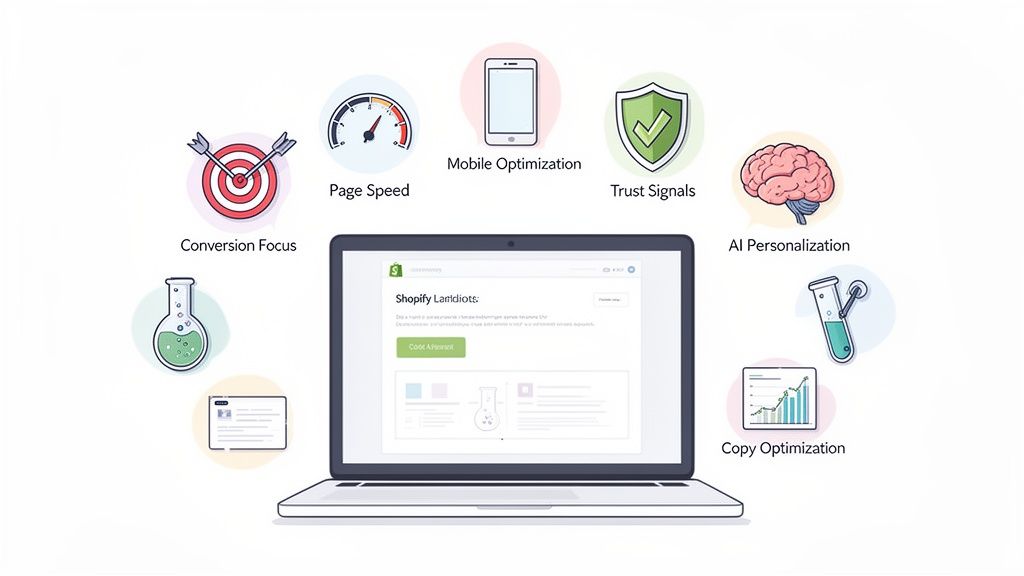
This article serves as your blueprint for building, testing, and refining landing pages that consistently perform. We'll explore:
- Conversion-Focused Structure: How to guide users from interest to action.
- Trust and Credibility: Building confidence with social proof and security signals.
- Performance and Accessibility: Ensuring a fast, seamless experience on any device.
- Data-Driven Optimization: Using A/B testing and analytics to make informed decisions.
1. Master the First Impression: A Clear Value Proposition Above the Fold
You have less than three seconds to convince a visitor to stay. This is why a crystal-clear value proposition, presented immediately "above the fold" (the content visible without scrolling), is one of the most critical landing page design best practices. This initial section must instantly answer two questions for the user: "What’s in it for me?" and "Why should I choose you?" For a growing Shopify store, this isn't just a best practice; it's a foundational requirement for building trust and reducing bounce rates from paid traffic.
A strong value proposition acts as a hook, setting clear expectations and establishing instant credibility. It’s the difference between a visitor immediately understanding your product’s benefit and clicking away in confusion. Think of how effectively Stripe's homepage communicates "Payments infrastructure for the internet." It's concise, powerful, and leaves no room for doubt about its purpose.
How to Implement This Practice
Successfully crafting your above-the-fold content requires a strategic combination of copy, design, and a clear call-to-action (CTA). Your goal is to guide the user's focus directly to your core message.
Actionable Implementation Tips:
- Use Benefit-Driven Headlines: Instead of "Durable Hiking Boots" (a feature), try "Conquer Any Trail with Boots That Never Quit" (a benefit). Focus on the outcome the customer will experience.
- Prioritize a Single, Primary CTA: Avoid overwhelming visitors. Include one high-contrast, primary CTA button above the fold, like "Shop Bestsellers" or "Get 15% Off Your First Order."
- Ensure Mobile Readability: Your value proposition must be just as clear on a small screen. Use a minimum font size of 16px for body text and larger, legible fonts for headlines to guarantee accessibility.
- Test Headline Variations: Don't settle for your first idea. Use Shopify's built-in analytics or A/B testing tools like Google Optimize to test 3-5 different headline variations. Analyze which version leads to the lowest bounce rate and highest engagement.
2. Strategic Call-to-Action (CTA) Placement and Design
Your call-to-action (CTA) is the engine of your landing page; it's the critical link between user interest and conversion. Simply having a button isn't enough. The strategic placement, visual prominence, and persuasive copy of your CTAs are fundamental landing page design best practices that directly command user action. For an eCommerce store, a well-executed CTA strategy guides visitors seamlessly through the buying journey, turning passive browsers into active customers.
A powerful CTA does more than just ask for a click; it creates urgency, clarifies the next step, and reinforces the value proposition. It’s the difference between a visitor thinking "What now?" and feeling compelled to "Get My Free Quote." Consider how Shopify’s prominent "Start free trial" button immediately communicates a low-risk, high-value offer, encouraging sign-ups by removing friction.
How to Implement This Practice
Effective CTA design is a science of psychology and visual hierarchy. Your goal is to make the desired action the most obvious and appealing choice on the page, eliminating any hesitation or confusion for the user.
Actionable Implementation Tips:
- Use First-Person, Action-Oriented Copy: Instead of a generic "Submit," test copy like "Get My Free Audit" or "Send Me My Discount." This first-person language creates a sense of ownership and relevance for the user.
- Implement High-Contrast Colors: Your CTA button should pop. Use a color that contrasts sharply with your page background and branding. Avoid using a primary brand color for the CTA if it blends in.
- Strategically Place Multiple CTAs: Don't make users hunt for the button. Place CTAs at logical decision points: one above the fold, one mid-page after key benefits, and a final one at the bottom. This ensures a CTA is always within reach.
- Add Reassuring Microcopy: Address last-minute objections directly below your CTA. Small text like "No credit card required" or "Free 30-day returns" can significantly boost click-through rates by building trust.
3. Social Proof and Trust Signals
For a visitor, clicking on an ad and landing on an unfamiliar Shopify store can feel like a risk. You must immediately answer the question, "Can I trust this brand?" This is where social proof and trust signals become one of the most powerful landing page design best practices. By showcasing positive experiences from real customers, you reduce purchase anxiety and build the credibility needed to turn a hesitant visitor into a confident buyer.
These elements work by leveraging a psychological principle: people are more likely to do something if they see others doing it. When potential customers see reviews, testimonials, and security badges, it validates their decision-making process and confirms that your product is a safe and worthwhile choice. For emerging eCommerce brands, this isn't just a nice-to-have; it's essential for overcoming initial skepticism and proving your value in a competitive market.

How to Implement This Practice
Integrating social proof requires more than just adding a few star ratings. It's about strategically placing different types of trust signals throughout the landing page journey to reinforce confidence at every step, from initial impression to the final click.
Actionable Implementation Tips:
- Feature Authentic Testimonials: Select 3-5 high-impact testimonials that highlight specific benefits. Include a customer photo, name, and company (if B2B) to maximize authenticity. Allbirds does this well by featuring transparent customer feedback.
- Display Star Ratings Near CTAs: Place average star ratings directly below product titles and near "Add to Cart" buttons. This visual cue provides instant validation at the point of decision. Shopify apps like Judge.me can automate this.
- Use Trust Badges at Checkout: Add security seals (like SSL certificates) and payment logos (Visa, PayPal) directly above payment forms to reassure users their information is secure.
- Showcase User-Generated Content (UGC): Integrate an Instagram or TikTok feed showing real customers using your product. Brands like Glossier master this by turning their customers into their most effective advocates.
- Incorporate "Wisdom of the Crowd" Copy: Use phrases like "Join 10,000+ satisfied customers" or "Top-rated by 500+ reviewers" to create a sense of popularity and belonging.
4. Mobile-First & Performance Optimization
With mobile devices accounting for the majority of eCommerce traffic, a mobile-first approach is no longer optional; it’s a core component of effective landing page design best practices. This means designing for the smallest screen first and then scaling up to desktop, ensuring a seamless experience for every user. For a growing Shopify brand, neglecting mobile performance is like closing your store to over half of your potential customers.
A fast, responsive mobile experience directly impacts conversions and SEO. Google's Core Web Vitals are key ranking factors, meaning slow load times and clunky mobile interfaces can actively harm your visibility. Brands like Airbnb master this by presenting a simplified, touch-friendly interface on mobile that prioritizes the core user journey, proving that a high-performance site is fundamental to building trust and driving action.
How to Implement This Practice
Optimizing for mobile and performance requires a dual focus on design and technical execution. Your goal is to deliver the essential message and functionality as quickly and intuitively as possible, regardless of the device or network speed.
Actionable Implementation Tips:
- Prioritize Performance Metrics: Aim for a Google Lighthouse performance score of 80+ and a Largest Contentful Paint (LCP) under 2.5 seconds. This ensures a fast, positive first impression.
- Compress and Lazy Load Images: Use modern image formats like WebP to significantly reduce file sizes without losing quality. Implement lazy loading so images below the fold only load as the user scrolls.
- Minimize Third-Party Scripts: Each external script (analytics, heatmaps, live chat) adds to your page load time. Audit your scripts and remove any that are non-essential to the core conversion path.
- Design for Touch Interaction: Ensure buttons and interactive elements are large enough to be easily tapped (at least 44x44 pixels). Design for a minimum screen width of 375px to cater to common devices like the iPhone.
- Defer Non-Critical Resources: Defer the loading of non-critical JavaScript and CSS to allow the primary content to render first. This dramatically improves the perceived load time for the user.
5. Minimalist Layout with Clear Visual Hierarchy
In an online world cluttered with noise, simplicity cuts through. A minimalist layout, characterized by generous whitespace and a clear visual hierarchy, is a powerful tool in your landing page design best practices arsenal. By deliberately removing distractions, you reduce the user's cognitive load, making it easier for them to process information and focus on the single most important action: converting. This approach isn't about being sparse; it's about being intentional.
This design philosophy forces you to prioritize what truly matters. It guides the user's eye from the headline to the benefit statements, and finally, to the call-to-action. Brands like Apple and Everlane master this, using significant whitespace and clean typography to make their products the hero. This creates a premium, focused experience that builds trust and directs user behavior, which is essential for any Shopify store aiming to improve its conversion rates.
How to Implement This Practice
Achieving effective minimalism requires a disciplined approach to every element on the page. The goal is to ensure each component serves a distinct purpose in guiding the visitor toward the conversion goal, a core principle in eCommerce website design best practices.
Actionable Implementation Tips:
- Embrace Whitespace: Aim for at least 40-50% of your landing page to be negative space. This breathing room improves readability and draws attention to key elements like your CTA button.
- Establish a Clear Font Hierarchy: Guide the eye with typography. Use distinct sizes for different levels of information: H1 (32-48px), H2 (24-32px), and body text (a readable 16px minimum).
- Limit Your Color Palette: Stick to a simple palette of 2-3 primary or accent colors beyond your neutrals (black, white, gray). This creates a cohesive and professional look that doesn't overwhelm the user.
- Focus on a Single Conversion Goal: Eliminate competing CTAs. If your goal is an email signup, remove secondary links to "Read Our Blog" or "Follow Us on Social." A single, clear path reduces decision fatigue.
- Use High-Quality Visuals Sparingly: Every image must have a purpose. Instead of a gallery, choose one or two high-impact visuals that directly support your value proposition.
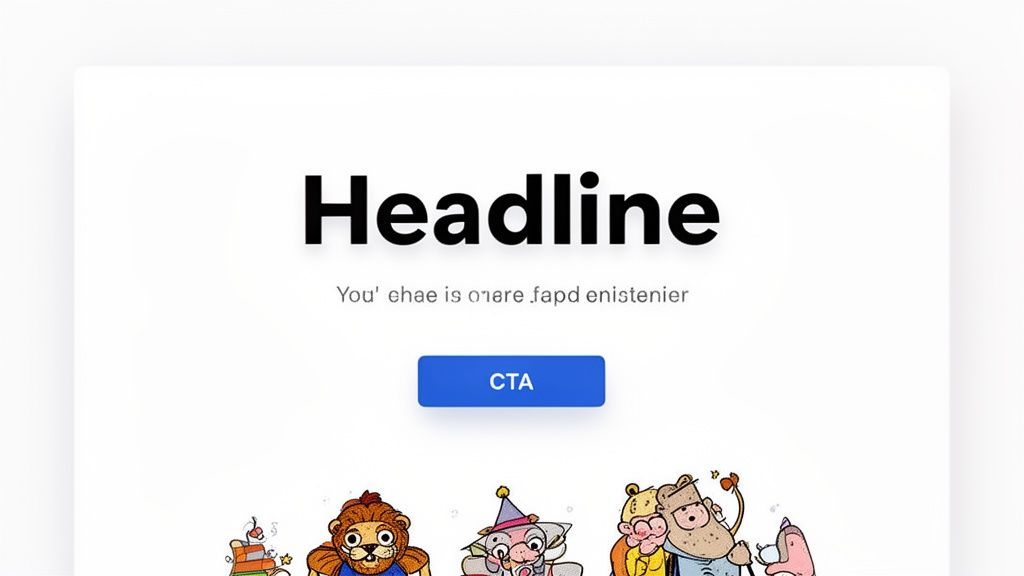
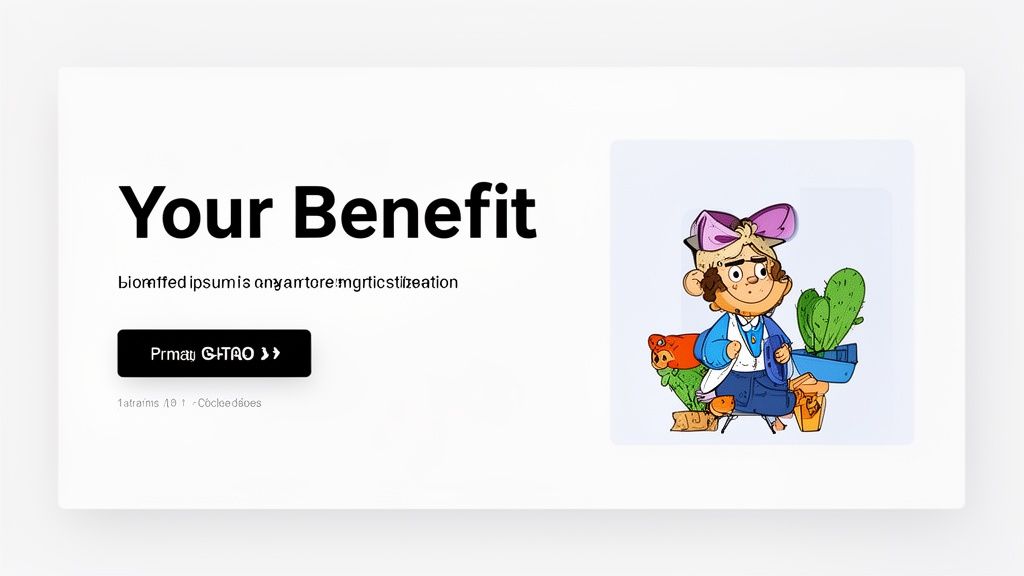
6. Compelling Hero Section with Supporting Imagery
The hero section is your landing page’s main event. It combines a powerful headline, a clarifying subheadline, and high-quality visuals to instantly capture attention and communicate your value. This is the very first thing visitors see, making it one of the most vital landing page design best practices for convincing them to scroll further. A well-executed hero section doesn't just look good; it creates an immediate emotional connection and sets the stage for the conversion.
For an eCommerce store, this space is your digital storefront window. It must be magnetic. Think of how Glossier uses soft, lifestyle-focused imagery to sell a feeling, not just makeup, or how Slack shows its product in the context of a clean, productive workspace. These brands understand that the hero section must tell a story in seconds, aligning the visitor's needs with the product's benefits and creating a seamless path toward the call-to-action.
How to Implement This Practice
Building a compelling hero section requires a harmonious blend of persuasive copy, strategic imagery, and user-centric design. Your goal is to stop the scroll and immediately engage the user with a visual and textual hook that they can't ignore.
Actionable Implementation Tips:
- Keep Headlines Short and Punchy: Aim for a headline between 6-10 words that focuses squarely on a primary benefit. It should be instantly understandable and impactful.
- Use High-Quality, Relevant Imagery: Whether you use a static image or a video, it must be professional and directly support your headline. Compress all images to under 300KB and use modern formats like WebP to ensure fast loading times.
- Ensure Text Readability: Your message is lost if it can't be read. Use an image overlay or a high-contrast color scheme to ensure a minimum text-to-background contrast ratio of 4.5:1.
- A/B Test Your Visuals: Don't assume what will resonate best with your audience. Test lifestyle imagery that shows your product in use against clean, product-focused shots. Analyze which approach leads to higher engagement and conversions.
- Optimize Video Heroes: If using a video, set it to autoplay on mute to capture attention without being disruptive. Keep the file size optimized to prevent it from slowing down your page load time, especially on mobile connections.
7. Persuasive Copywriting with Pain-Point Addressing
Exceptional design draws the eye, but persuasive copy is what secures the conversion. A core principle of effective landing page design best practices is crafting copy that directly addresses your visitor's pain points, anxieties, and desires. Instead of just listing features, your copy must show visitors that you understand their problem and position your product as the ideal solution. This approach builds an immediate emotional connection and demonstrates empathy, making your offer far more compelling.
When you address a specific pain point, you shift the conversation from what your product is to what it does for the customer. This transforms your landing page from a simple product showcase into a problem-solving resource. Think of how effectively Grammarly frames its product not as a "grammar checker" but as a tool to "Write with confidence." This speaks directly to the user's fear of making mistakes and their desire for professional communication, making the value instantly clear.
How to Implement This Practice
Integrating pain-point-driven copy requires deep customer understanding and a focus on benefits over features. Your goal is to mirror the exact language and frustrations your target audience experiences, then present your solution in a clear, benefit-oriented way.
Actionable Implementation Tips:
- Research Customer Pain Points: Dive into your support tickets, customer reviews, and post-purchase surveys. Identify the recurring problems and frustrations your customers mention and use that exact language in your copy.
- Lead with the Solution: Start your headlines and key sections by addressing the desired outcome. Instead of "Tired of slow shipping?" try "Get Your Order Tomorrow." Frame the benefit first.
- Use the AIDA Model: Structure your page to guide users through Attention (a powerful headline), Interest (details that resonate with their problem), Desire (social proof and benefits), and Action (a clear CTA).
- Write for "You": Frame all your copy around the visitor. Use "You" and "Your" to make the content feel like a one-on-one conversation. For example, "You'll finally get a full night's sleep" is more powerful than "Our mattress provides a full night's sleep."
- Quantify Your Benefits: Be specific with your claims. Instead of saying your software is "much faster," state that it "Reduces processing time by 3x." Tangible numbers build credibility and make benefits easier to understand.
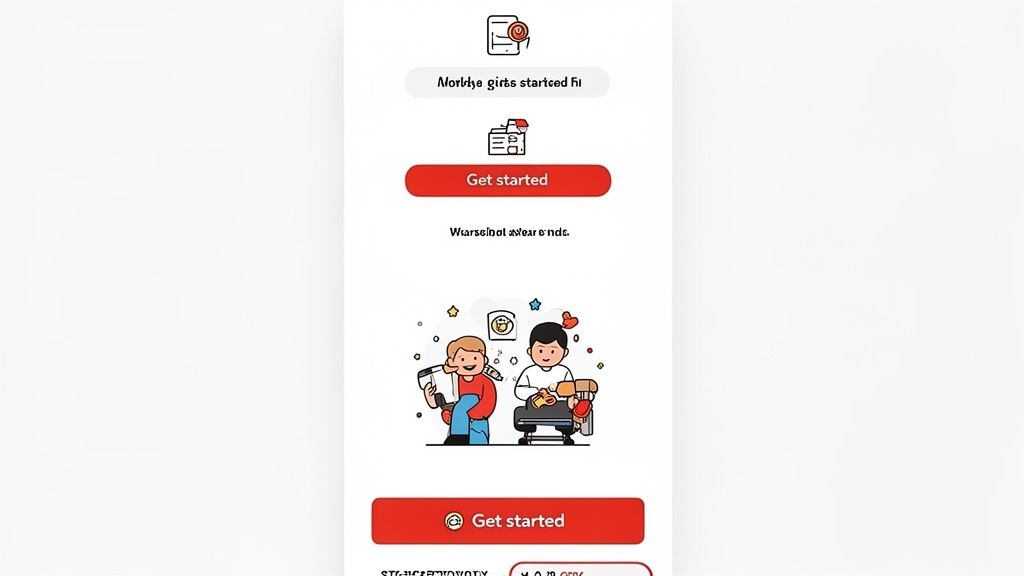
8. Progressive Disclosure and Focused Conversion Flow
Asking for too much information at once is a primary cause of form abandonment. The principle of progressive disclosure, a key component of effective landing page design best practices, addresses this by breaking down complex processes into smaller, manageable steps. This technique reveals information and requests input incrementally, reducing cognitive load and making the user feel more in control and less intimidated.
This strategy is about building momentum. Instead of presenting a visitor with a daunting 10-field form, you start with a simple request, like just an email address. Once they've made that small commitment, they are psychologically more inclined to complete the next step. For an eCommerce store, this can mean the difference between capturing a lead for a high-ticket item or scaring them away with an overwhelming initial ask. Think of how Calendly schedules meetings: it first asks for the date and time, then for your details, never showing all fields at once.
How to Implement This Practice
Implementing a progressive flow requires you to strategically sequence the information you present and request. The goal is to guide the user smoothly from one micro-commitment to the next, building trust along the way.
Actionable Implementation Tips:
- Reduce Initial Form Fields: Start with the lowest-friction request possible, often just an email address. Limit the initial visible form to 2-3 essential fields to maximize the initial conversion.
- Show a Progress Bar: On multi-step forms, a visual progress indicator (e.g., "Step 2 of 3") manages expectations and motivates users to finish the process they’ve started.
- Use Conditional Logic: Only show form fields that are relevant to a user's previous answers. For example, if a user selects "Business" as their account type, then reveal business-specific fields.
- Add Reassurance Copy Between Steps: Use microcopy to reinforce the value proposition between steps. For instance, after a user enters their email, a message could say, "Great! Now tell us where to ship your free sample."
- Test 1-Step vs. Multi-Step Forms: While multi-step forms are often superior, it's crucial to A/B test this for your specific audience and offer. Sometimes, a well-designed single-step form can outperform a multi-step one for simpler actions.
9. A/B Testing and Data-Driven Iteration
Intuition has its place, but data-driven decisions win conversions. A/B testing, also known as split testing, is a core discipline in landing page design best practices that moves your optimization strategy from guesswork to a scientific process. By systematically comparing two versions of a page (a control "A" and a variation "B"), you can definitively measure which elements drive more sales, sign-ups, or leads. For a growing eCommerce brand, this continuous iteration is the engine of sustainable growth, turning small, validated wins into significant long-term revenue lifts.
Relying on assumptions is a costly mistake. A/B testing allows you to isolate variables-a headline, a CTA button color, or a product image-and see exactly how your audience responds. For example, many direct-to-consumer brands report achieving over a 30% annual lift in key metrics simply by establishing a consistent testing culture. It removes subjectivity from the design process and replaces it with empirical evidence, ensuring your resources are invested in changes that actually work.
How to Implement This Practice
A successful A/B testing program is built on a structured framework that prioritizes high-impact experiments and meticulously tracks results. Your goal is to create a feedback loop where insights from one test inform the hypothesis for the next.
Actionable Implementation Tips:
- Prioritize Tests by Impact and Effort: Use a framework like PIE (Potential, Importance, Ease) to score potential tests. Focus first on high-traffic pages and elements like headlines, CTAs, and hero sections where changes can have the largest effect.
- Test One Element at a Time: To get clean, reliable data, only change a single variable per test. If you change the headline and the CTA color simultaneously, you won’t know which element was responsible for the change in performance.
- Run Tests for Statistical Significance: Don't end a test prematurely. Run it for at least 1-2 weeks or until each variation has received a minimum of 100-200 conversions to ensure your results are statistically significant, not just random fluctuations.
- Document Everything: Maintain a detailed log of every test you run, including your hypothesis, the variations, the results, and key learnings. This creates institutional knowledge that prevents you from repeating mistakes and helps build a smarter optimization strategy over time. To deepen your understanding, you can explore more A/B testing best practices for a comprehensive approach.
10. Conversion-Focused Form Design and Optimization
Every field in a form is a potential point of friction that can cause a user to abandon your landing page. Conversion-focused form design is a crucial landing page design best practice that aims to reduce this friction by making the data submission process as seamless and effortless as possible. For a Shopify store, this directly impacts lead capture rates, account creations, and ultimately, checkout completion.
A poorly designed form feels like an interrogation, while a well-optimized one feels like a helpful conversation. The goal is to ask for the minimum amount of information required to complete the immediate action. Think of how Typeform's one-question-at-a-time approach reduces cognitive load, or how Shopify’s streamlined checkout remembers user details to simplify repeat purchases. These designs respect the user's time and significantly improve conversion rates.
How to Implement This Practice
Optimizing your forms involves a ruthless audit of every field, label, and interaction. You must balance the need for data with the user's motivation, ensuring the path to submission is clear, logical, and encouraging.
Actionable Implementation Tips:
- Minimize Required Fields: For an initial lead capture, often just an email address is enough. Aim for 3-5 essential fields at most. You can always gather more information later through progressive profiling.
- Use Smart Defaults and Formatting: Auto-detect a user's country or use scripts to auto-format phone numbers and credit card inputs. This small detail removes tedious manual work and reduces errors.
- Implement Inline Validation: Provide real-time feedback as a user types. A green checkmark for a valid email or a red error message for a mistake prevents frustration upon hitting "submit."
- Design for a Single Column: Single-column layouts are typically easier for users to follow, as their eyes move in a natural top-to-bottom direction. This simple structural change can boost form completion rates.
- Use Clear Labels, Not Placeholder Text: Never use placeholder text (the grayed-out text inside a field) as a label. It disappears once the user starts typing, forcing them to guess what information was required.
10-Point Landing Page Design Comparison
Start Building Landing Pages That Actually Convert
You've just navigated a comprehensive blueprint for high-conversion design. We’ve dissected everything from the magnetic pull of a clear value proposition above the fold to the data-driven precision of A/B testing frameworks. But understanding these landing page design best practices is only the first step; the real transformation happens when you start implementing them not as a checklist, but as a holistic, user-centric philosophy.
The journey from a passive product page to an active conversion engine is built on a foundation of strategic choices. It's about consciously guiding your visitor’s attention with a clear visual hierarchy, earning their trust with authentic social proof, and eliminating every point of friction with mobile-first optimization and streamlined forms. Each element we've covered, from persuasive copywriting that speaks directly to a customer's pain points to a minimalist layout that lets your product shine, works in concert to create a seamless path from interest to action.
From Theory to Tangible Results
The most critical takeaway is that a landing page is not a static digital brochure; it is a dynamic and evolving tool for growth. The principles of progressive disclosure, strategic CTA placement, and relentless performance optimization are not one-time fixes. They are part of an ongoing cycle of listening, testing, and refining. Your analytics are not just numbers; they are the voice of your customer, telling you exactly what’s working and what’s not.
By committing to this iterative process, you move beyond guesswork and start making decisions backed by real user behavior. You learn to anticipate user needs, address objections before they arise, and build an experience that feels intuitive and trustworthy. This is the core of conversion rate optimization and the key to unlocking sustainable, predictable revenue for your eCommerce brand.
Your Actionable Next Steps
To turn this knowledge into momentum, here’s where you should focus your energy next:
- Audit Your Core Landing Pages: Pick one of your most important product or campaign pages. Evaluate it against the ten principles discussed. Where are the biggest gaps? Start with the highest-impact, lowest-effort changes, like clarifying your headline or improving your main CTA button.
- Commit to a Testing Cadence: You don't need a massive team to start. Set up a simple A/B test on your primary CTA's copy or color. The goal is to build the habit of questioning assumptions and seeking data-driven answers.
- Prioritize Mobile and Speed: Use Google's PageSpeed Insights to analyze your landing page's mobile performance today. Slow load times are silent conversion killers. Make addressing the tool's recommendations a top priority for your development team.
Mastering these landing page design best practices is more than just an exercise in aesthetics; it's a fundamental business strategy. It’s about maximizing the value of every visitor you worked so hard to attract. By building pages that are clear, compelling, and centered on the user, you create a powerful flywheel for growth, turning clicks into customers and customers into loyal brand advocates.
Ready to implement these advanced strategies but need an expert team to accelerate your results? ECORN specializes in conversion-focused design and CRO for ambitious Shopify brands. We help you turn traffic into predictable revenue by building landing pages that are engineered to convert. Schedule your free discovery call with ECORN today.


Critical Rendering Path: A Guide for Shopify Stores

How to Promote on TikTok for eCommerce in 2026

B2B eCommerce Consulting That Drives Real Revenue
10 Best Practices for Site Navigation in 2026
Return vs Refund for Shopify Stores: A Practical Guide
What Is Customer Lifetime Value and Why It Matters
What Is Voice of Customer Research for eCommerce

SMS Marketing for Ecommerce That Actually Converts

Master How to Improve Email Deliverability in 2026
Top 7 eCommerce Partners NYC for Shopify Brands in 2026
Machine Learning for Ecommerce: Boost Your Shopify Store

Beauty Market Research: Your 2026 Growth Guide

Shopify International Expansion: A 2026 Roadmap
What Does CRO Stand for in Business: Understanding CRO
Shopify Visual Merchandising: A Playbook for Higher Sales
Shopify Landing Page Design: Master Conversion in 2026
10 Best AI SEO Optimization Tools for Shopify in 2026

Agentic AI for Ecommerce: Boost Your Sales in 2026
Mastering Email Marketing Data for eCommerce Growth
Conversion Rate Optimisation Australia: Boost Your Sales
Conversion Rate Optimization AI: Your Shopify Store Guide

10 Product Bundling Strategies for Shopify in 2026
How to Increase Customer Lifetime Value: A Shopify Playbook
AI Customer Service Automation: Shopify Guide 2026
Clean Website Design: A Shopify Conversion Playbook

Omnichannel Retail Strategy: A Shopify Playbook
Product Data Enrichment: A Guide for Shopify Brands
Instagram Shopping Features a Guide for Shopify Stores

What Is Revenue Optimization: A Holistic RevOps Guide
Benefits of Conversion Rate Optimization: Boost Your
WordPress to Shopify Migration: Your 2026 Seamless Switch
Boost Sales: Ecommerce Payment Processing Guide 2026
Unified Commerce Platform: Benefits, KPIs & Shopify Guide
How to Reduce Bounce Rate eCommerce: Your 2026 Guide
Shopify API Integration: A Practical End-to-End Guide
How to Implement Data Governance: A 2026 Guide
Shopify Store Development Cost: A 2026 Breakdown
What Is Server Side Tracking: The Shopify Guide 2026
Marketing Automation Workflows: A Shopify Guide for 2026
Shopify: How to Reduce Technical Debt
Shopify UX Design Change: A Playbook for Growth
User Generated Content Strategy: Shopify Playbook
Shopify Pause and Build Plan Cost: A Complete 2026 Guide
Compare at Price on Shopify: A Complete Guide for 2026
Where Can I Sell My Prints? 10 Best Platforms for 2026
Shopify Order Management System: The Ultimate Guide 2026
What Is Marketing Attribution? an eCommerce Guide for 2026
10 Best Black Friday Sales Sheets for 2026

Discover the Top Social Media Marketing Agencies For
Consumer Confidence Definition for eCommerce in 2026
What Is Social Commerce? Your 2026 Guide to Boosting Sales
A Social Ad Campaign Playbook for eCommerce Growth
7 Best FAQ Page Examples for SaaS & eCommerce

Market Research in Fashion Industry: A Guide for Shopify
Shopify Migration Services: Expert Guide for 2026
Mastering FB Retargeting Ads for Shopify in 2026
What Is Omnichannel Ecommerce

Master Your Shopify Plus Migration: The 2026 Guide
Shopify Integration Services: A Merchant's 2026 Guide
Shopify Collection Description: A Guide to SEO & Sales
Shopify Plus Contact: Reach Sales & Support Effectively

Top Luxury Shopify Stores: Design & UX Strategies
How to Improve Customer Experience: A Shopify Roadmap
Creative Facebook Ads: 10 Examples for Shopify Brands

Remarketing with Facebook Ads: A Shopify Guide for 2026

SEO Linking Strategies for Shopify Stores
Top 7 Statistics YouTube Channels for eCommerce in 2026

Hiring Shopify Plus Designers: A Founder's Guide

Shopify Product Variation: Master Your Variants for 2026

Leverage Ai Solutions Brands: Your 2026 Shopify Growth Guide
Filters in Shopify: A Guide for Growing Brands
Shopify Plus Developer: A Guide for Growing Brands

When Does Black Friday Online Start? A 2026 Guide
Black Friday Email Marketing: Shopify & Klaviyo Guide

Polaris Design System: The Complete Shopify Guide
How to Hire a Consultant Email Marketing Expert

What Is Q4? A Shopify Merchant's Guide to Peak Season

Marketing Organization Structure for eCommerce Growth
Top Account-Based Marketing Agency Guide for 2026

7 Remarketing Ad Examples for Your 2026 Campaigns

AI Retail Solutions: Boost Your Shopify Store

Migrate to Shopify: The Definitive 2026 Guide
Shopify Authentication App: A Guide for Secure Stores

Why Strategic Marketing Is Important for Growth in 2026
How to Create a Size Chart in Shopify: 2026 Guide

Shopify Themes for Jewelry: The Definitive 2026 Guide

Minimal Shopify Templates: Faster, Higher-Converting Stores
Maximize Profit: Shopify CC Fees 2026 Guide

Best Shopify Apps for Beginners in 2026

How to Improve Online Shopping Experience in 2026

Shopify Design and Development Services: A 2026 Guide

Small Business Social Media Marketing Agency: A Hiring Guide
Bulk Edit Shopify: A Guide to Save Hours on Store Updates

2026 Trends in Food and Beverage Industry

Post Purchase Survey Guide for Shopify Stores

How to Build an Ecommerce Brand in 2026
Conversion Rate Optimization for Ecommerce: Maximize Profit
How to Use Customer Data to Increase Sales: A Guide
Shopify for Enterprise: The 2026 Deep Dive Guide

Email Marketing Agencies: The Guide for Shopify Brands


newsletter in your inbox